Monday 28 April 2014

Comic Maxi Gathered Skirt

Follow my blog with Bloglovin
After my weekend of disasters last week, I decided to do a quick and easy gathered maxi skirt this weekend.

My guide was the wonderful tutorial on the Simple Bliss Blog and have to admit, it was fairly straightforward.

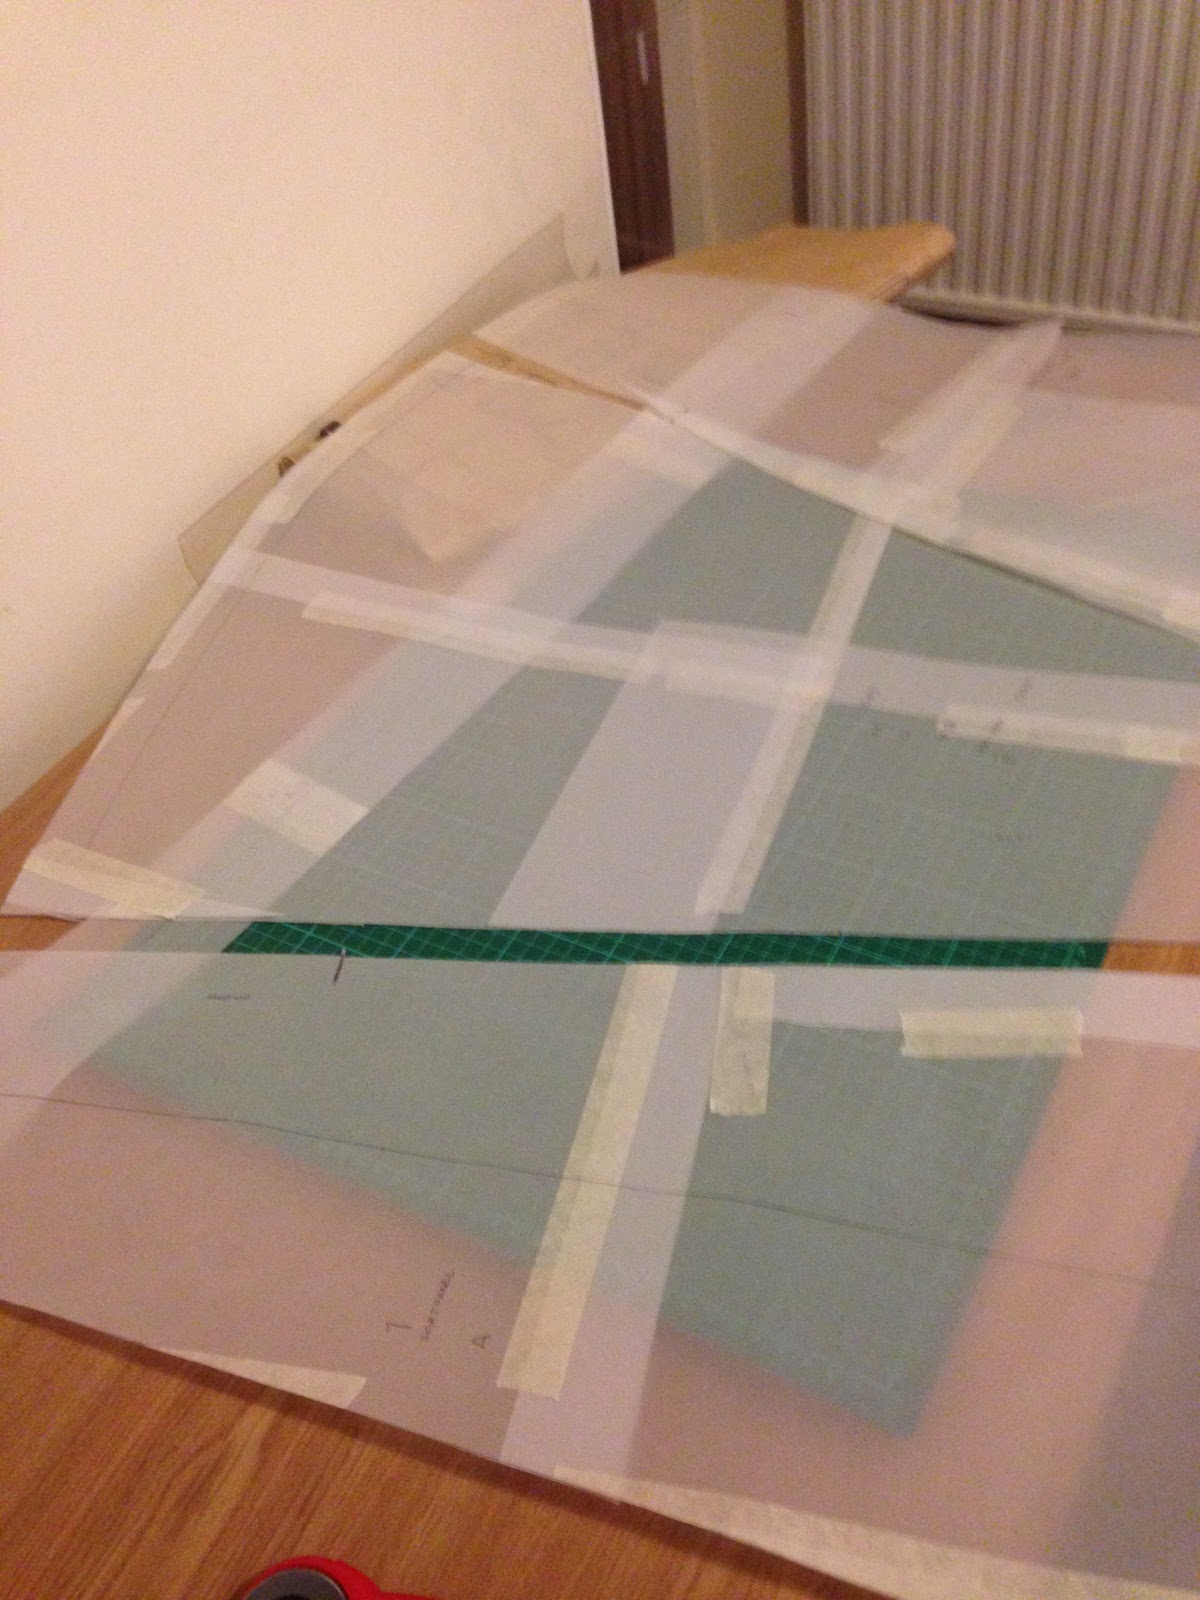
To make the skirt you need a piece of fabric which is at least as wide as you are, the wider it is the more gathers you will achieve.  It should be as long as you want the skirt to be, a bit longer if you want to add a hem.  You also need a piece of waistband elastic long enough to fit around your waist with a seam allowance.

I ordered material from ebay which was a jersey knit fabric, and 50mm wide black elastic for the waist.

The steps are fairly easy.
  1. Loosen the tension a bit on your top thread, and stitch along the top.  Break this in to sections, I would suggest quartering your fabric and marking each quarter.  When you get to your mark, stop stitching, cut a long tail of thread, then start again for the next section. Don't secure the ends of your stitching.
  2. Repeat step 1, but do the stitching just below the first line.
    Two rows of stitches for gathering
  3. Tie a knot in the threads at one end of the first section, then gently pull on the bottom threads at the other end of the section.  This will cause your fabric to start to gather.
  4. Do this for all the stitches, you are aiming to have the material the same width as your elastic.
    Example of gathering in progress
  5. Once the fabric is the right length, even out the distribution of the gathers, and secure all the threads
  6. Pin your fabric to your waistband and then sew it together.  I attached it so that the bottom row of threads was about 1/4" above the bottom of the elastic.  I also used the elastic stitch on my machine which will allow the thread to stretch.  As you can see, mine was anything but perfect, but the wide waistband hid a lot of sins...
    Example of gathering secured to waistband
  7. Now pin both long edges together and sew that up.  You shouldn't need to use a special stitch, but I went with a zigzag just to be safe.
  8. Finally, you need to sort the hem.  Pin the skirt to the length you want it to be, and either cut off the excess, or use your preferred method of hemming.  I chose to hem it, but I would suggest you use a zigzag stitch, I used two parallel rows of straight stitching which looks lovely but has no give and is constricting when I walk.
And there you have it, a fully completed gathered maxi skirt.  The wider your fabric compared to your elastic, the more gathered your skirt will look.

If you make this skirt, please pop a photo on here, I'd love to see your versions.


Finished Gathered Maxi Skirt in Comic material


Thursday 24 April 2014

My weekend disasters!

I have no photos for you today, my weekend was a disaster!

As planned, I got up bright and early on Friday morning to finish my first ever skirt.  All I had to do was sew in the zip, do the waistband and hem it...an easy mornings work.

First the zip.  I read my Alison Smith book, I watched some YouTube videos, I stitched the seam up to the zipper point then basted the rest.  I pressed the seam and hand tacked the zip in place. I then tried to secure the zip.

Three hours later, I had a zip that was passable, not pretty, not close to perfect, but unlikely to fall out.  I need to do a lot more research and practise with zips, does anyone have any favourite tutorials?

Then on to the waistband, where I placed the interfacing over the material and pressed, resulting in a lovely big load of interfacing stuck to my iron.  I worked out how to get the rest to just stick to the material, and moved on.  I attached the waistband to the top of the skirt, pinned in place and sewed.  It looked like one of the best rows of stitching I had ever done, neat, straight, just perfect.  Unfortunately, when I went to press it, I noticed I had caught one of the folds of fabric in the stitching, so had to rip it all out again, ripping the fabric too in one place.  When I tried to pin it in place again, it no longer seemed to fit, the waistband was too short! I have no idea what has happened, but at that point the whole project was folded up and put away, I'll try again another day.

I also did manage to very successfully start my lovely flowery skirt, though trying to lay out 5m of fabric in a 2.5m space was quite a lot of fun.  My lining should arrive this morning, and I hope to finish that one over the weekend.

My comic material didn't arrive until yesterday, so have not started that one yet, but planning to make that up tonight so I can wear it to dress down Friday tomorrow, and to my course at night.

I think I may have caught the sewing bug though, last night my husband asked me what was wrong, as I looked both in pain and frustrated.  I had to confess that I was really annoyed I couldn't do any sewing as my leg was insisting I be horizontal.

I hate to do a blog with no photos, so thought I would end by posting one of the vintage patterns I managed to get hold of.  They are all vintage size 16s, so I think I have about 6" to lose off my waist before I make them, but what an incentive!!  I normally go for 1950's styles, but these just looked so much fun (though only planning to make the maxi skirt rather thanh the crazy blouse!)


Thursday 17 April 2014

Easter Weekend Sewing Marathon

I am all alone over the Easter weekend, as hubby is taking the dog down to see his family, and I have a course on the Saturday so can't join them.

To keep me from feeling too sorry for myself, or from munching my way through all the Easter eggs, I have planned a marathon sewing weekend, and will attmpt to finish three skirts...am I mad!!!

The first one is already almost done, and is my curtain lining Burda skirt.  My zip arrived from Plush Addict so I can get that inserted and pin up my hem.  I plan to just do a basic turned up hem with a straight stitch, so should be easy enough.  Plan is to finish this on Friday morning.

Skirt 2 is New Look 6056
This looks like a super easy pattern, the biggest challenge will be the tracing and cutting out as the pieces are huge! You need 4.7m of fabric for this one, so I got 5m of this lovely polycotton from Greens Fabric and it was only £2.50 a meter! It is a bit thin, so I have also got 5m of a blue lining fabric from Pennine Fabrics who are a dream to deal with, happy to help and will offer suggestions or alternatives to help you out.

I am hoping to do most of this on Friday afternoon, so that I can take it to my friends' house on Saturday night for a bit of help pinning up the hem.  By Sunday, I should have my new blind hemming foot, so planning to try that with this one.

My final skirt was one I found on a blog post, and thought it looks so easy I had to try it. One Simple Bliss gives really clear instructions and lots of photos to help, so I bought an increadibly fun jersey print to make it with, and a 50mm elastic for the waistband.  The material was £5.99 for a meter, so more than I normally spend, but I only needed a meter so felt I could justify it.

So, am I crazy or is this possible?

Monday 14 April 2014

Burda 7042 - Making up part 1

Having done all my initial cutting and marking, the next stage was to start making the pieces into a skirt.

First of all, I set up my sewing machine, and put my magnetic seam guide (a Hemline one which was about £3.00) on the footer plate to help guide my material at the correct seam allowance.  I find sewing to a regular width very difficult, so I did find this guide to be a help.

I decided to use a fairly small stitch length, unfortunately my sewing machine model (Brother JK1700) does not have an adjustible stitch length, so I had to just pick what looked best from the stitch guide on the machine.

Using the guide to help, I did a few stitches, then reversed the machine and went back over them to secure.  After that I just slowing worked my way down to the bottom, where I used the integrated thread cutter to snip off the work. I did this to all 4 sets of panels, and then pressed the seams open.

The fabric frayed quite badly when I was cutting out, so I knew I would have to neaten the seams.  I decided to do the easy option of running a zigzag stitch along the seam and then snipping the fabric close to the edge of this.  I used quite a small stitch length, I did try a longer one but found it hard to control.


The photo above shows the unfinished and finished seam, I didn't press the seam after this, so it looks a bt wavy, but after pressing was lovely and straight.

It was only after I did this that I realised that if I did this to all the seams, I would not be able to let the skirt out if I had made it a bit on the small side.  Definitely something to remember in future.

I then sewed the larger panels together, but did not join them into a full circle.  As I currently don't have a zip for the skirt, I couldn;t do the next part of the instructions, so I skipped forward a bit.

The next step was putting in a tuck along the line marked in the centre of each small panel.  To do this, I first folder the fabric along the line, and then pressed in place.  The instructions called for this part to be stitched at 1/8", which was not marked on my machine.  I did try to guess, but ended up with a tuck 2/8" wide, which over the whole skirt would have made it a full inch narrower, so I unpicked it all and tried another method.

I measured 1/8" from the needle, and put a bit of masking tape on the footer plate to be my guide.  Thankfully this worked, and I was able to put all these tucks in place.


I pressed the tucks to the side, and put the skirt round me to check fit.  I can't have been holding it right as the photo looks a bit squint, but overall I think it's looking good.

I have ordered a zip from eBay, which I hope will arrive soon, and then I will be able to do the next section of adding the zip and waistband.

Any tips for the zipper insertion? I don't have an invisible zipper foot, so I have just ordered a normal one, and hopefully I can work it out.


Burda 7042 - Getting started

Well, I had no idea the initial stages would take so long.  From advice I got on The Sewing Forum, I decided to trace the pattern before cutting it, so that I wouldn't damage the original tissue, and when I lose weight, I could just retrace for a different size.

So I started with this

I didn't need the mat, rotary cutter of seam ripper initially, so moved them off the table.

I spread out the pattern, and hit issue one, my table is too small.  This meant that I had to tape my sheets of tracing paper directly on to the pattern tissue, and move the sheets about to get all pieces traced.  I stuck everything with masking tape, but when I had traced everything, I did find the pattern ripped slightly in a few places when I took it off.

I ended up with these pieces, having used my husbands tracing paper which is fairly thick.


The next problem was laying the pieces out on my fabric.  Again, my table was much too small, and in future I think I will resort to the floor.  My fabric was folded, and I had to cut 4 lots of piece 2, which gave me 8 panels.  The first set I did, I forgot to transfer the markings from the pattern to the piece, so had to line it up again.

I found the marking quite tricky, and in the end went for two methods.  For the curved hem allowance, I made long loopy stitches along the line, and then for the straight center line I used chalk and a long ruler.  For the stiches, I then snipped the loops and got a line of thread tufts to show me where to fold.


I mostly used the rotary cutter and cutting mat, although I did find my little embriodary scissors helpful for small areas.

The instructions then suggested joining the right seams together, using the 5/8" seam allowance included in the pattern.  So I pinned at right angles to the stitching line to secure the fabic before starting sewing.


And that was me, all set up and ready to sew.  Do you get prepared any differently?

Friday 11 April 2014

Welcome...and lets get started

Thanks for looking at my blog.

I have started this to track my various crafting activities, and hopefully help others to find good suppliers, new challenges, or just to share the mistakes I make along the way.

I have never sewn before, but having recently got a Brother JK1700 as a wedding present, I am excisted to get started.

Sewing seems a bit daunting to start with, and all the material I could find in John Lewis or HobbyCraft seemed too expensive to make mistakes with. I did purchase a meter of a reduced funky fabric which I used to make a draught excluder and a bottle warmer for red wine, but then the machine went away and nothing has happened since.

I have spent a lot of time researching the techniques involved in sewing, finding out about different ways to finish seams (who knew there was more than one!), and looking at all the wonderful things I can make.  A fantastic resource for informaiton and guidance is www.thesewingforum.co.uk which is a really friendly forum who answer even the daftest questions without making you feel silly.

I kept an eye on a number of websites, and managed to purchase a number of patterns from Minerva Crafts when they were on half price offer.  This gave me something to work from, and I started looking for fabric to use.

As we live on a very tight budget, I knew I couldn't really spend over £3.99 a meter, and was starting to doubt that I would be able to find anything in that price range.  Admitedly, in general you will only find polycotton at that price, as cotton prices have increased dramatically in the last few years.  However, I did find a few places on Facebook that did great offers, Greens Fabrics and Penine Fabrics.

I have also been introduced to the idea of using waste material to either make trial runs of an item to ensure it fits correctly, or to make an actual garment, and then dye the material to suit your needs.  When we helped a friend move house recently, I noticed she was leaving some curtains, which she let us have, and now they are freshly washed and waiting to be transformed.  One thing to note if you are planning to dye your creation is that polyester thread will quite often not take normal dye, so you may be best to use cotton.

Anyway, I now plan to make my first skirt from the curtain linings, and will try to post a step by step account of this.  The pattern is Burda 7042, and I think it looks fantastic, and not too difficult I hope.